Events can be paid for manually (cash, cheque or money order)
1. Include Manual Payments in set up

The Merchant Facility tab can be found within the Payments2Us menu (Top right picklist in Salesforce - Select Payments2Us), or it can be found under the "More" at the end of the tabs. (In Salesforce Classic - It can be under the "+" at the end of the tabs)
Once you have clicked on the Merchant Facility Tab, select the appropriate List view (Example - "All Merchant Facilities") and click into Merchant Facility you wish to update.
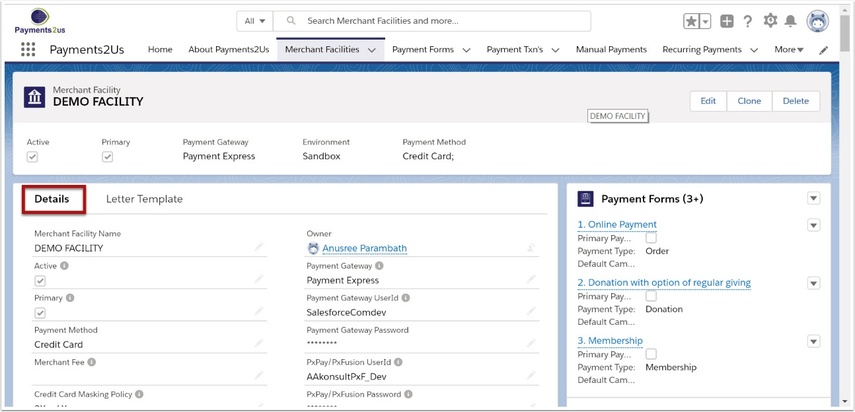
1.2. Select Merchant Facility Detail tab
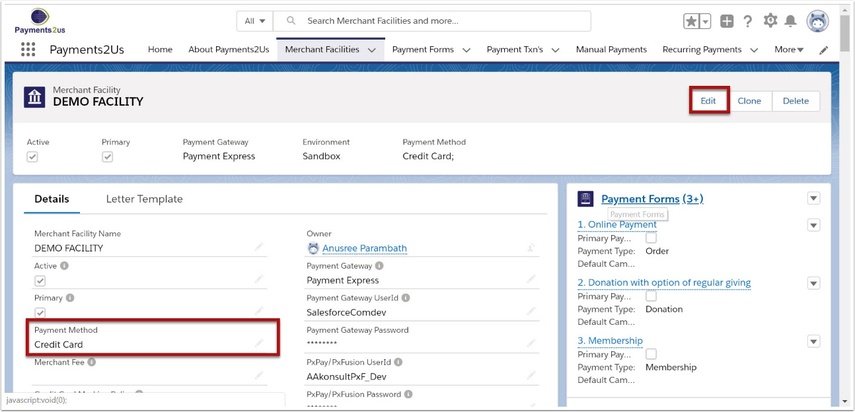
1.3. Edit the Payment Method Field
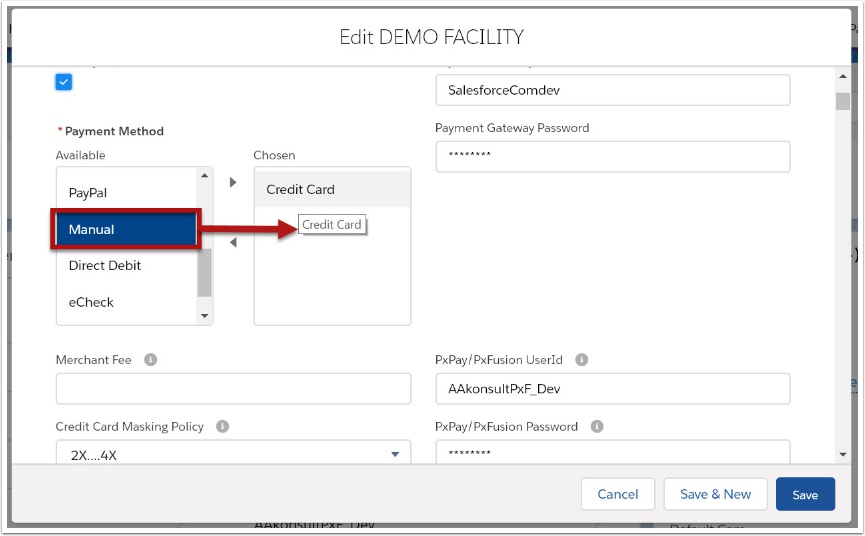
1.4. Select Manual from the picklist and OK then SAVE
2. Make a payment
2.1. Locate the Campaign for Event - Add Event Attendee
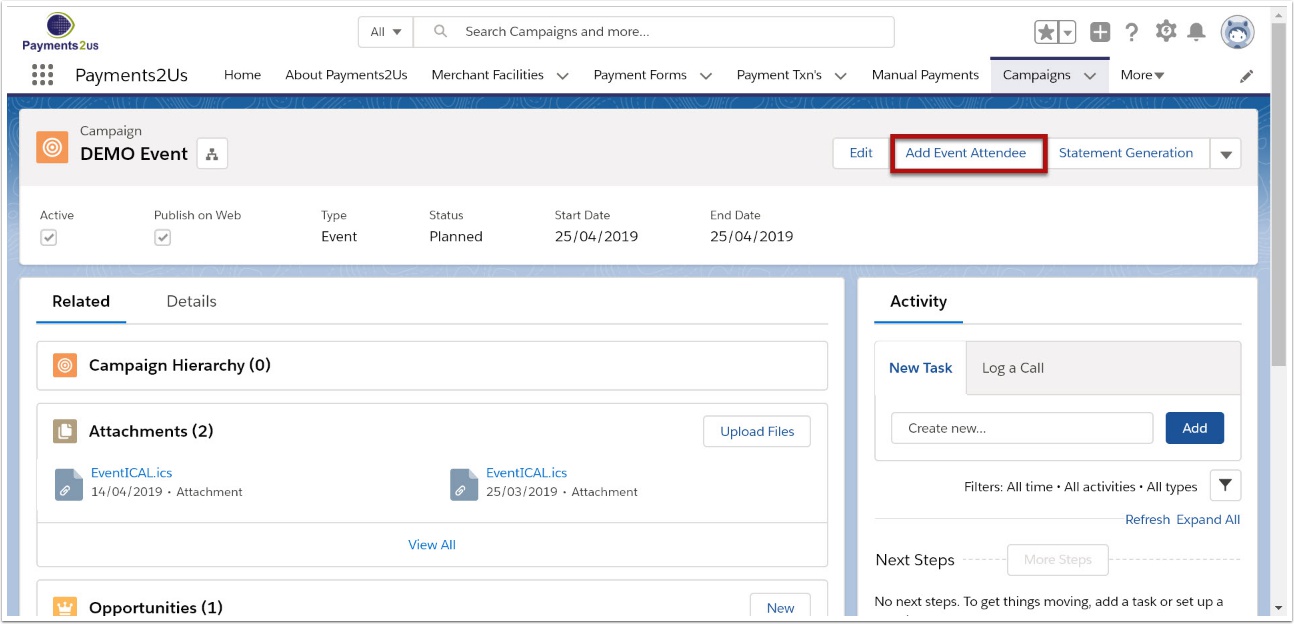
To enter a manual payment for the Event, locate the Campaign in Salesforce.com and then press the “Add Event Attendee" button.
Should this button not be visible on campaigns, ask your administrator to edit the page layout and add the button "Add Event Attendee"
2.2. Select Tickets and Checkout - Manual Payment
Follow the wizard through in selecting the tickets and attendees.
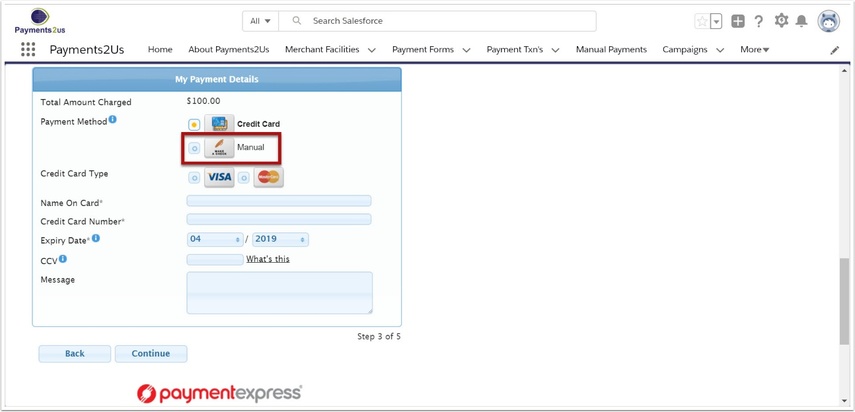
When you get to the checkout form, you will have the option of selecting a manual payment. Select this button and then enter the payment details.
NOTE: This option is NOT shown on the public web forms. It is only visible if you are logged into Salesforce.