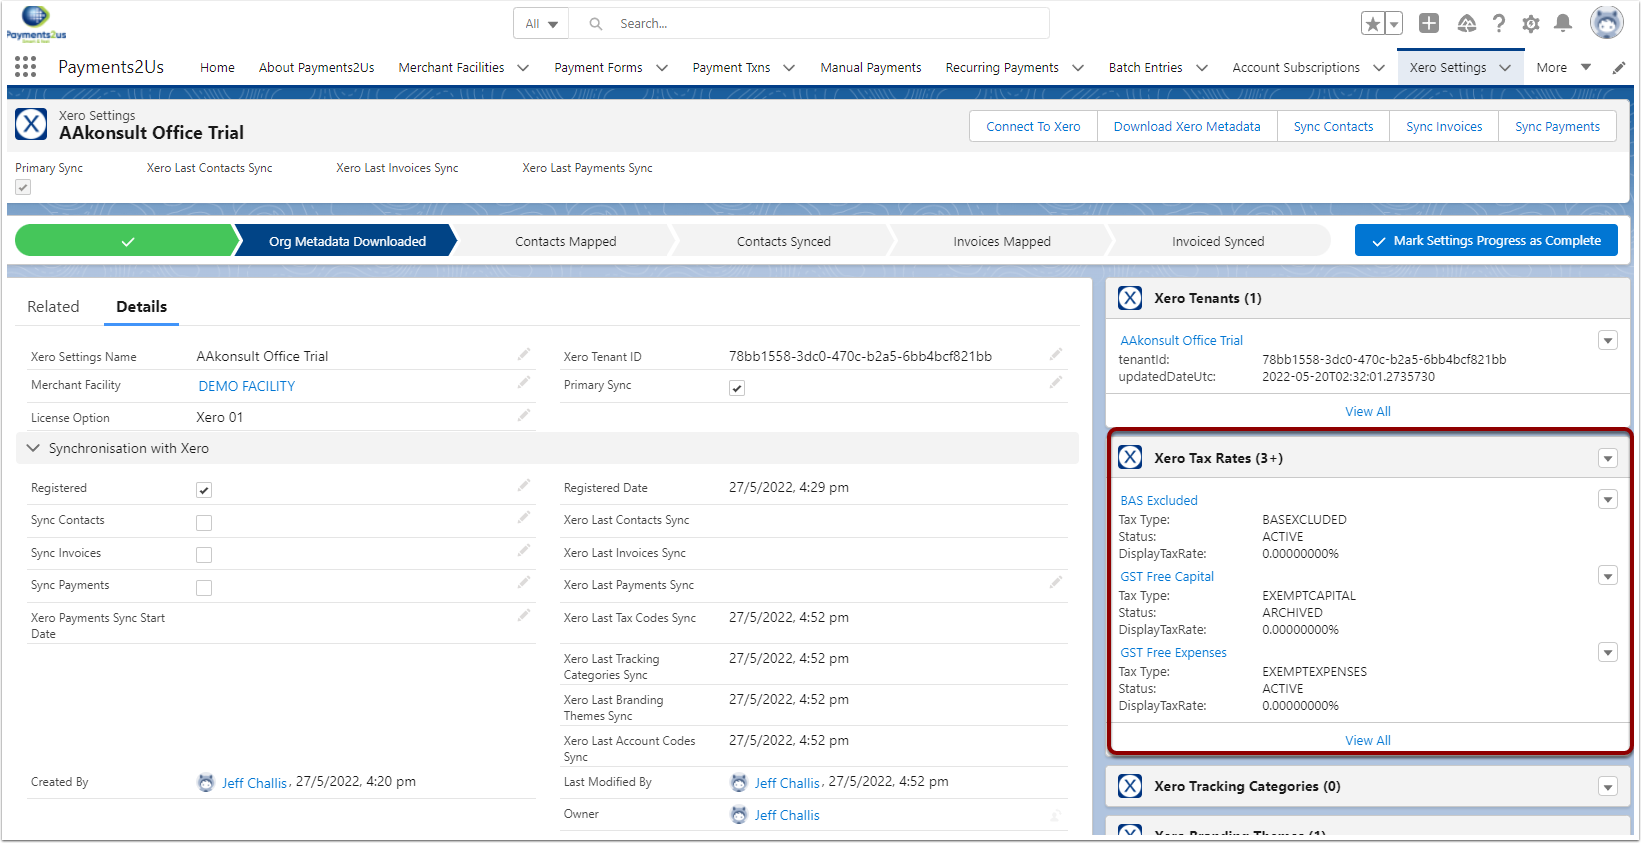
This procedure will connect Salesforce to Xero. Before starting you will need to:
- Have a Payments2Us Xero License key
- Have login credential for Xero
1. Create Xero Settings
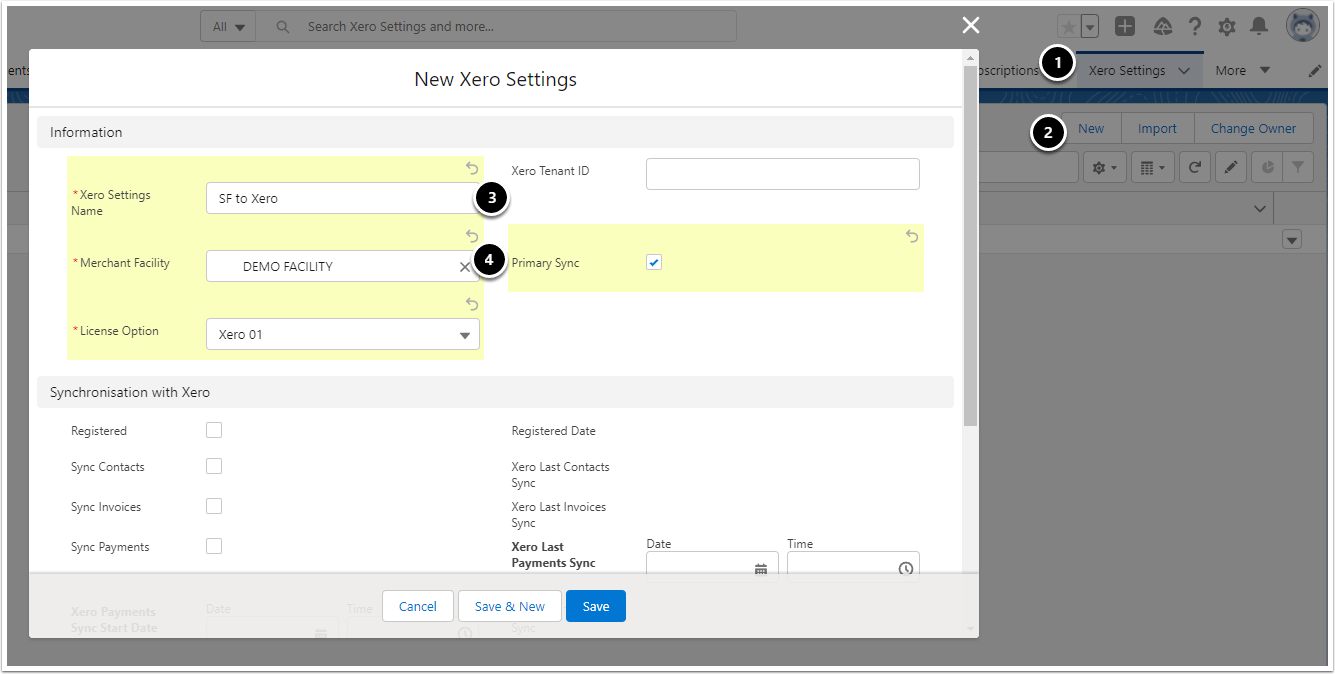
- Navigate to the "Xero Settings Tab"
- Press "New" button
- Enter any description, e.g Company Name. Note, this value will be updated with your company name that is set in Xero at a Later Stage
- Select an Active Merchant Facility that has your License options recorded
- Select a License Option type. This is part of your license key provided to you by Payments2Us.
- If this is your only or primary company then set the "Primary Sync" to true
- SAVE
2. Connect to Xero
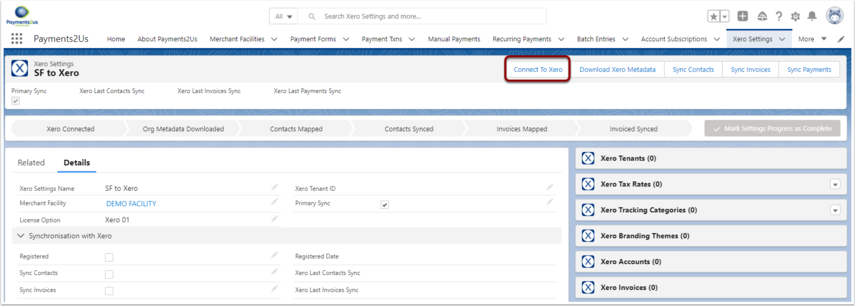
2.1. Press Connect to Xero
Press the "Connect to Xero" button at the top of the Xero Settings page
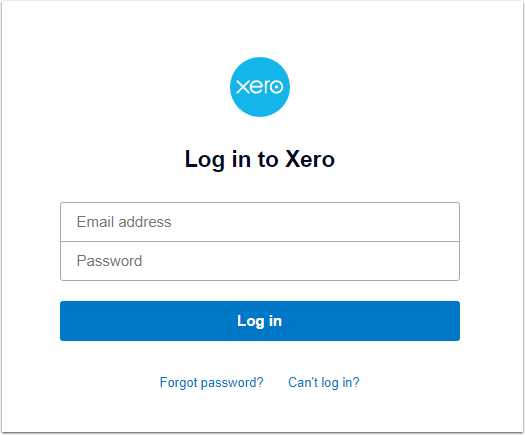
2.2. Log into Xero
Enter your Xero Credentials and press "Log in" button
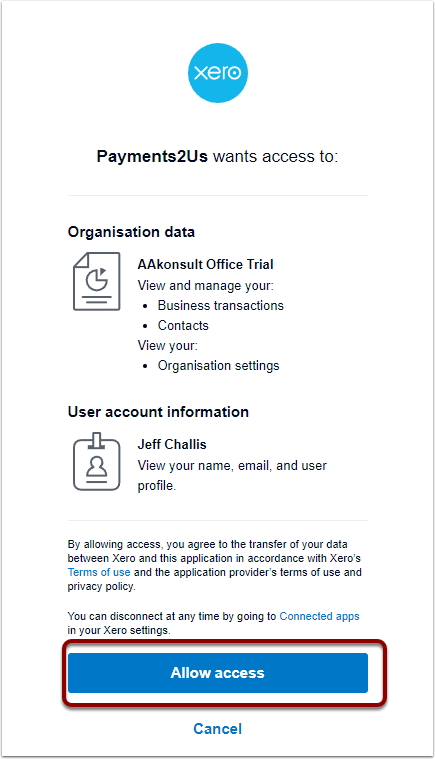
2.3. Confirm allowing Access
Press the Allow access button to confirm authorisation for Payments2Us Salesforce to Access your Xero data
2.4. Complete Salesforce to Xero Connection
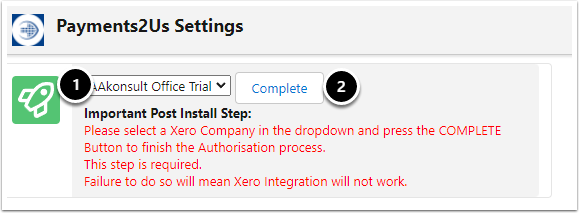
- Should your Xero Account have multiple companies then you must select the one applicable. If you have multiple companies, you will need to repeat the above steps of adding a separate Xero settings and connection.
- Press "Complete" button to finish of the connection settings.
3. Download Metadata
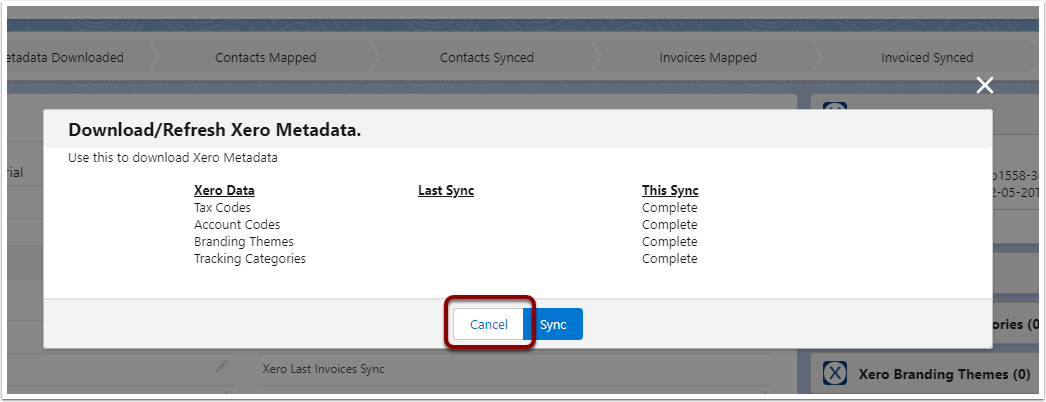
Xero Metadata is database information that is needed for transactions that generated from Salesforce. This information includes:
- Tax Rates
- Branding Themes
- Account Codes
- Tracking Categories
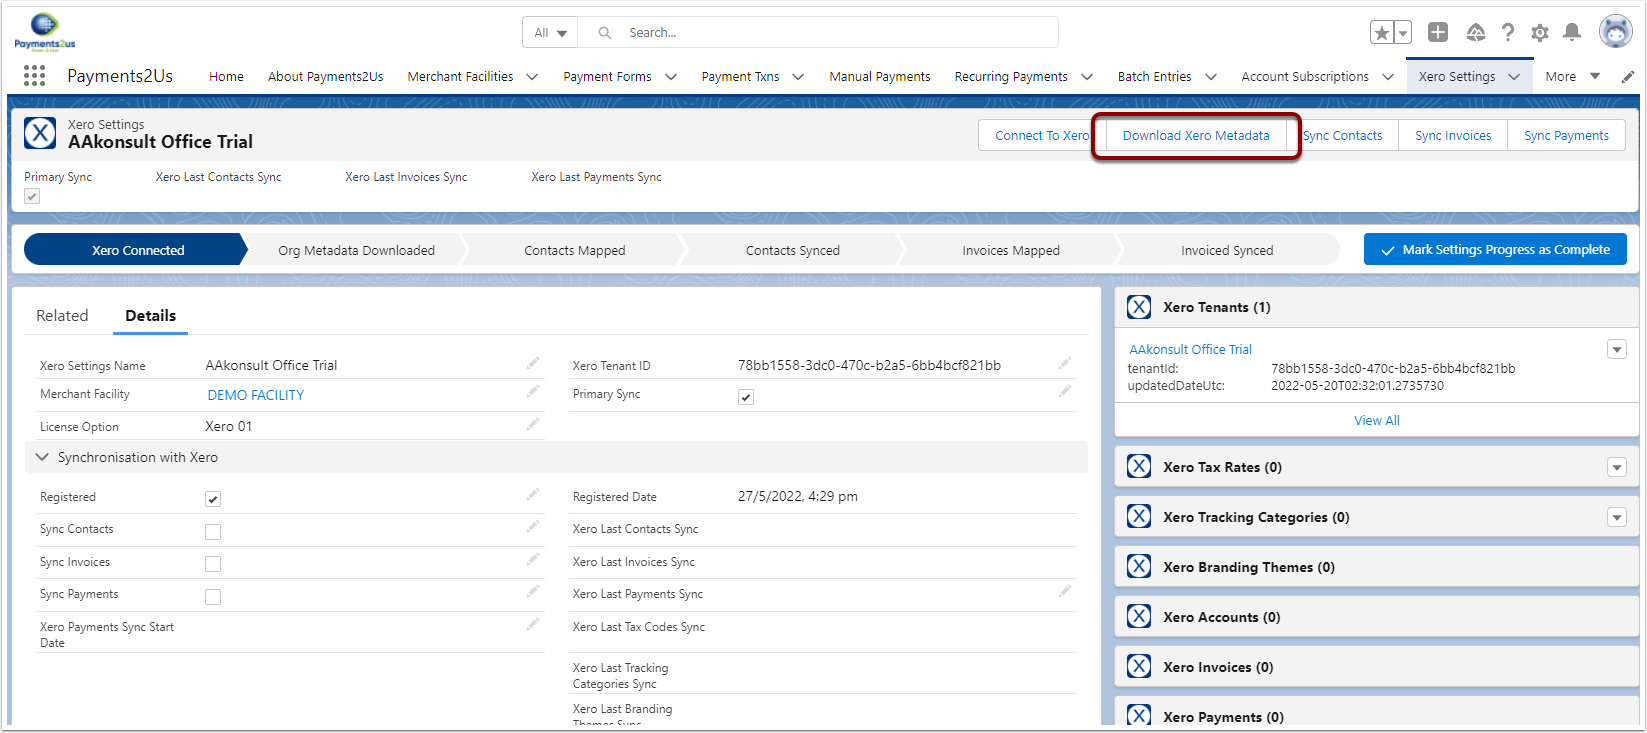
On the Xero Settings Object, press the "Download Metadata" button to start the Sync from Xero.
Then Press Sync button
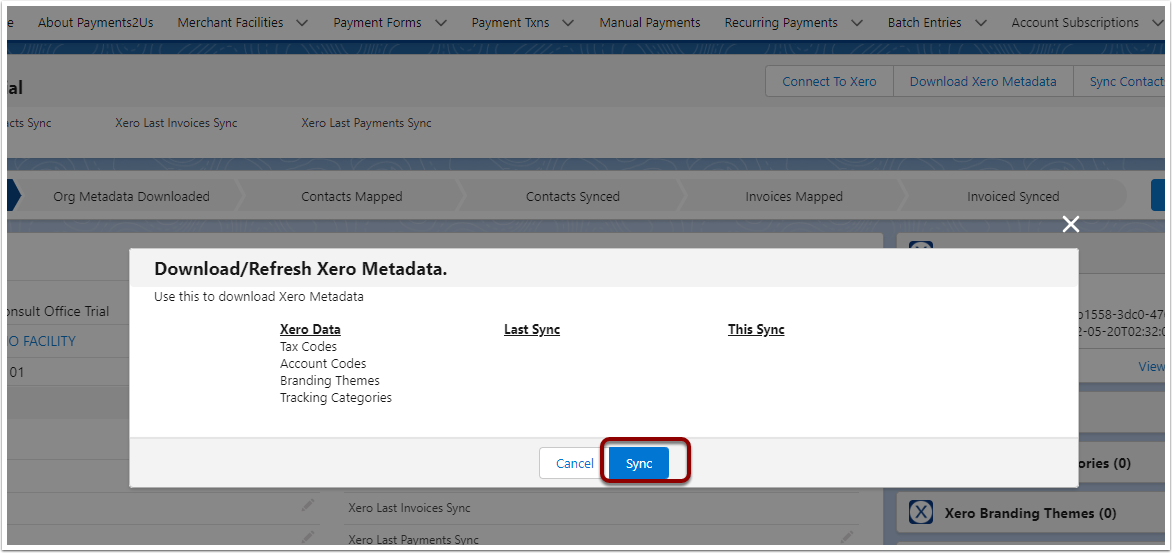
Once the Sync has completed, press "Cancel" button
After refreshing the Xero Settings page, you'll now see the Metadata such as Tax Rates, Accounts etc.
