For many industries, it is useful to get an authorisation and reserve funds on a credit card without actually taking the payment until the product/service is delivered, or the exact amount is known. For example, an organisation may wish to take a booking for an event, but only charge the customer once the booking/event is confirmed.
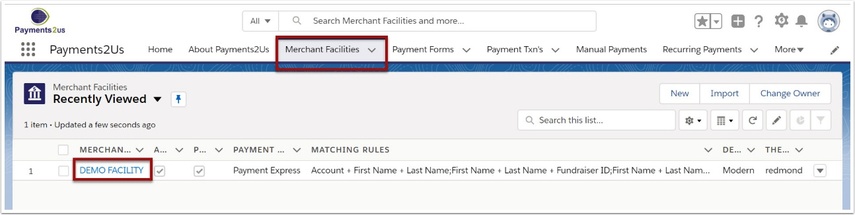
The Merchant Facility tab can be found within the Payments2Us menu (Top right picklist in Salesforce - Select Payments2Us), or it can be found under the "More" at the end of the tabs. (In Salesforce Classic - It can be under the "+" at the end of the tabs)
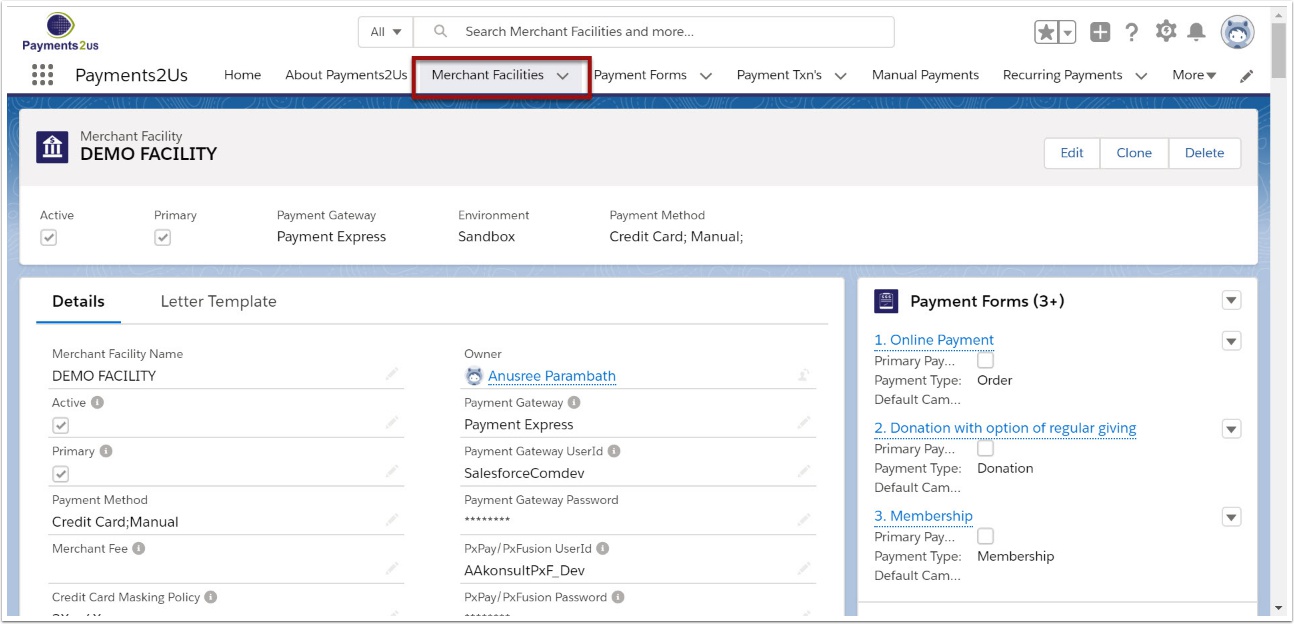
Once you have clicked on the Merchant Facility Tab, select the appropriate List view (Example - "All Merchant Facilities") and click into Merchant Facility you wish to update.
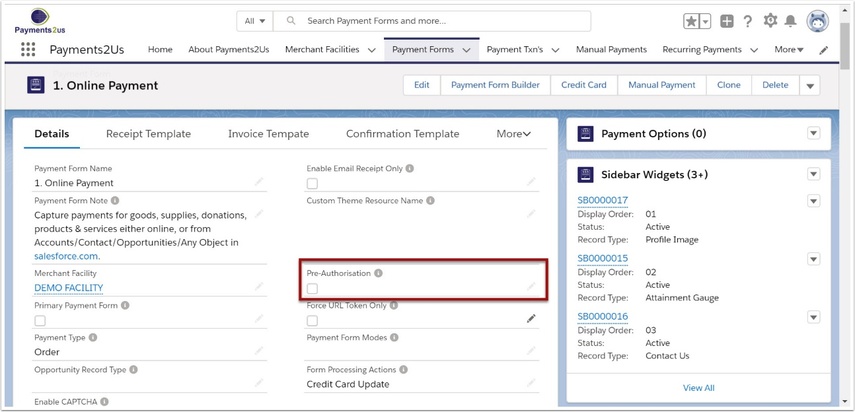

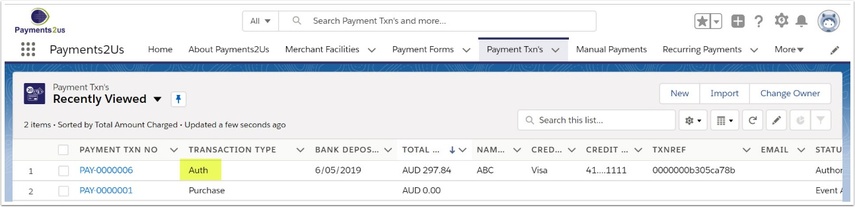
Once pre-authorisation is enabled, all transactions will come in as an “Auth” type and will have the funds reserved on their credit card. The vendor MUST make the completion transaction, to actual charge the card and transfer funds within 7 days.
To complete the transactions go to 'How to authorise pending payments '